How to join OkieMesh
Join the group
Outside of the mesh network itself, we're most active in our public Discord Server. You can email us to be added to our mailing list for our in-person meetings in Oklahoma. You can also follow us on Twitter, X (Twitter), TikTok, YouTube, or join our Discord.
Connect to the network
-
Get a Meshtastic Radio.
You can build one yourself for about $35. The official Meshtastic page keeps a current list of Supported Hardware. The LILYGO T-Echo is a good first meshtastic radio, as it costs around $70 and is ready to go out of the box (besides having to flash the firmware).
You can also buy a pre-built battery-powered radio for between $50-$100 on Etsy or eBay - these usually have 3D printed cases.
If you can afford it, and have a place to mount it outside, we recommend you buy a pre-built solar-powered node for between $100 and $200 on Etsy and mount it as high off the ground as you can. Alternatively you can build your own. - Download the Meshtastic App on your iPhone or Android.
- Pair your radio to your phone with Bluetooth.
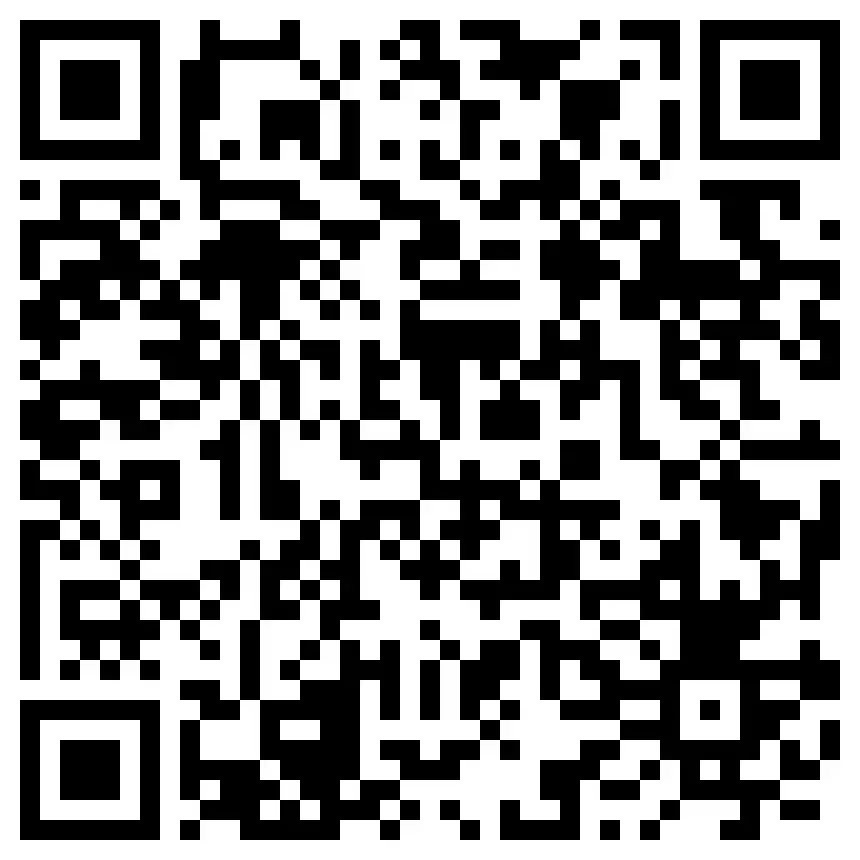
- Scan the QR code to add our local Okie Corral Channel or click Here

- Open the Okie Corral Channel in your Meshtastic app and say hi!
Best practices
TL;DR;
- MQTT: Enabled
- MQTT Server Address: mqtt.meshtastic.org
- MQTT Username: meshdev
- MQTT Password: large4cats
- Encryption Enabled: Disabled: Ticket Off
- Root topic: msh/US/OK
- Proxy to Client Enabled: Enabled: Ticket On
- Map Reporting Enabled: Enabled: Ticket On
- Role: Client (NOT Router & Client)
- Hop Count: 3
- Broadcast intervals(info, position, telemetry): 3 hours
This is a community driven project, following these guidelines will ensure the best experience for everyone as we continue to grow. (credit @Nick, @AdvJosh (TEX#) - KJ5FZD, @edsai KI5OSB)
MQTT
Recommendd during the Mesh development stage.
The majority of Oklahomans prefer using MQTT with Meshtastic. However, our long-term objective is to move away from relying on the global MQTT infrastructure. This shift aims to strengthen an RF-based mesh network, eliminating the need for internet dependency to fill coverage gaps.
Our goal is to build a robust, reliable off grid network that can be utilized by our community during internet/power outages.
Device Role
It may be tempting to set your device to ‘client/router’ or one of the other infrastructure modes, however from our extensive testing we’ve seen the best results for the end user, and the network as a whole using the ‘client’ role. Meshtastic does not currently have any intelligent routing built into the firmware. Nodes are set to rebroadcast any message they receive that they have not heard rebroadcast from another node at a random time interval. The ‘client/router’ and other infrastructure role takes that random interval and subtracts another random interval ensuring that they rebroadcast first.
While this may sound good on paper, due to constantly changing environmental variables you may be inadvertently creating dead ends in the network, bypassing intended recipients, and closing off redundant routing paths. We highly recommend starting with a ‘client’ role even for well placed nodes.
For device connected nodes (the ones you're sending messages from) that are not contributing to the network we recommend a device role of ‘client mute’ to reduce overall network airtime. An example of this would be a device connected node in your home that goes through a relay node on your roof.
Hop Count
We recommend starting with a hop count of 3, and always using the minimum number of hops needed to reach your destination. If you are running a device connected node in your home and a relay node that your client always goes through, a hop count of 4 is advised. If you are on the edge of the network and are not achieving results with the above, 5 hops may be useful however we recommend ensuring that you've done all you can with regard to optimizing your node hardware and placement first, if these are not taken care of additional hops will not yield greater distance and will degrade the performance of the wider network.
Broadcast Interval (Position, Telemetry, Node Info)
In order to reduce overall channel utilization and ensure messages are delivered we recommend the following settings for everyday use unless you have a specific use case or are running a test that requires more frequent updates.
Device Config
Node Info Broadcast Interval: 3 Hours
Position
Broadcast Interval: 1 Hour, Enable Smart Position, Minimum Interval: One Minute, Minimum Distance: 100, Position Flags: Disable all flags that are not explicitly needed for your use case.
Telemetry (Sensors) Config
Device Metrics: 3 Hours, Sensor Metrics: 1 Hour
